WorkOutDoors |
|
WorkOutDoors |
|
This page is focussed on the creation of waypoints and how to navigate to a waypoint. For information on waypoints contained in routes please see the Routes screen.
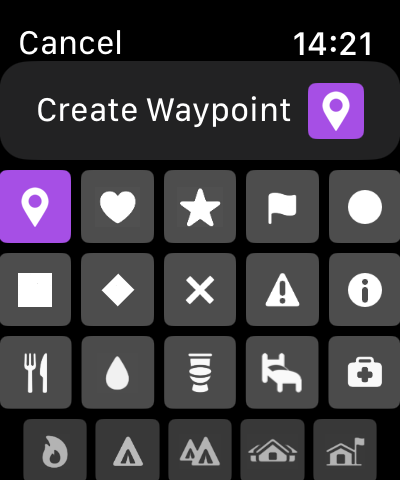
To create a waypoint in the watch app go to the Settings and then tap Waypoints and then 'Create Waypoint.
The resulting screen allows you to select the icon and colours used. The last selection will be preserved for the future.
If you do this often then consider configuring a shortcut in Settings / Commands / Shortcuts.
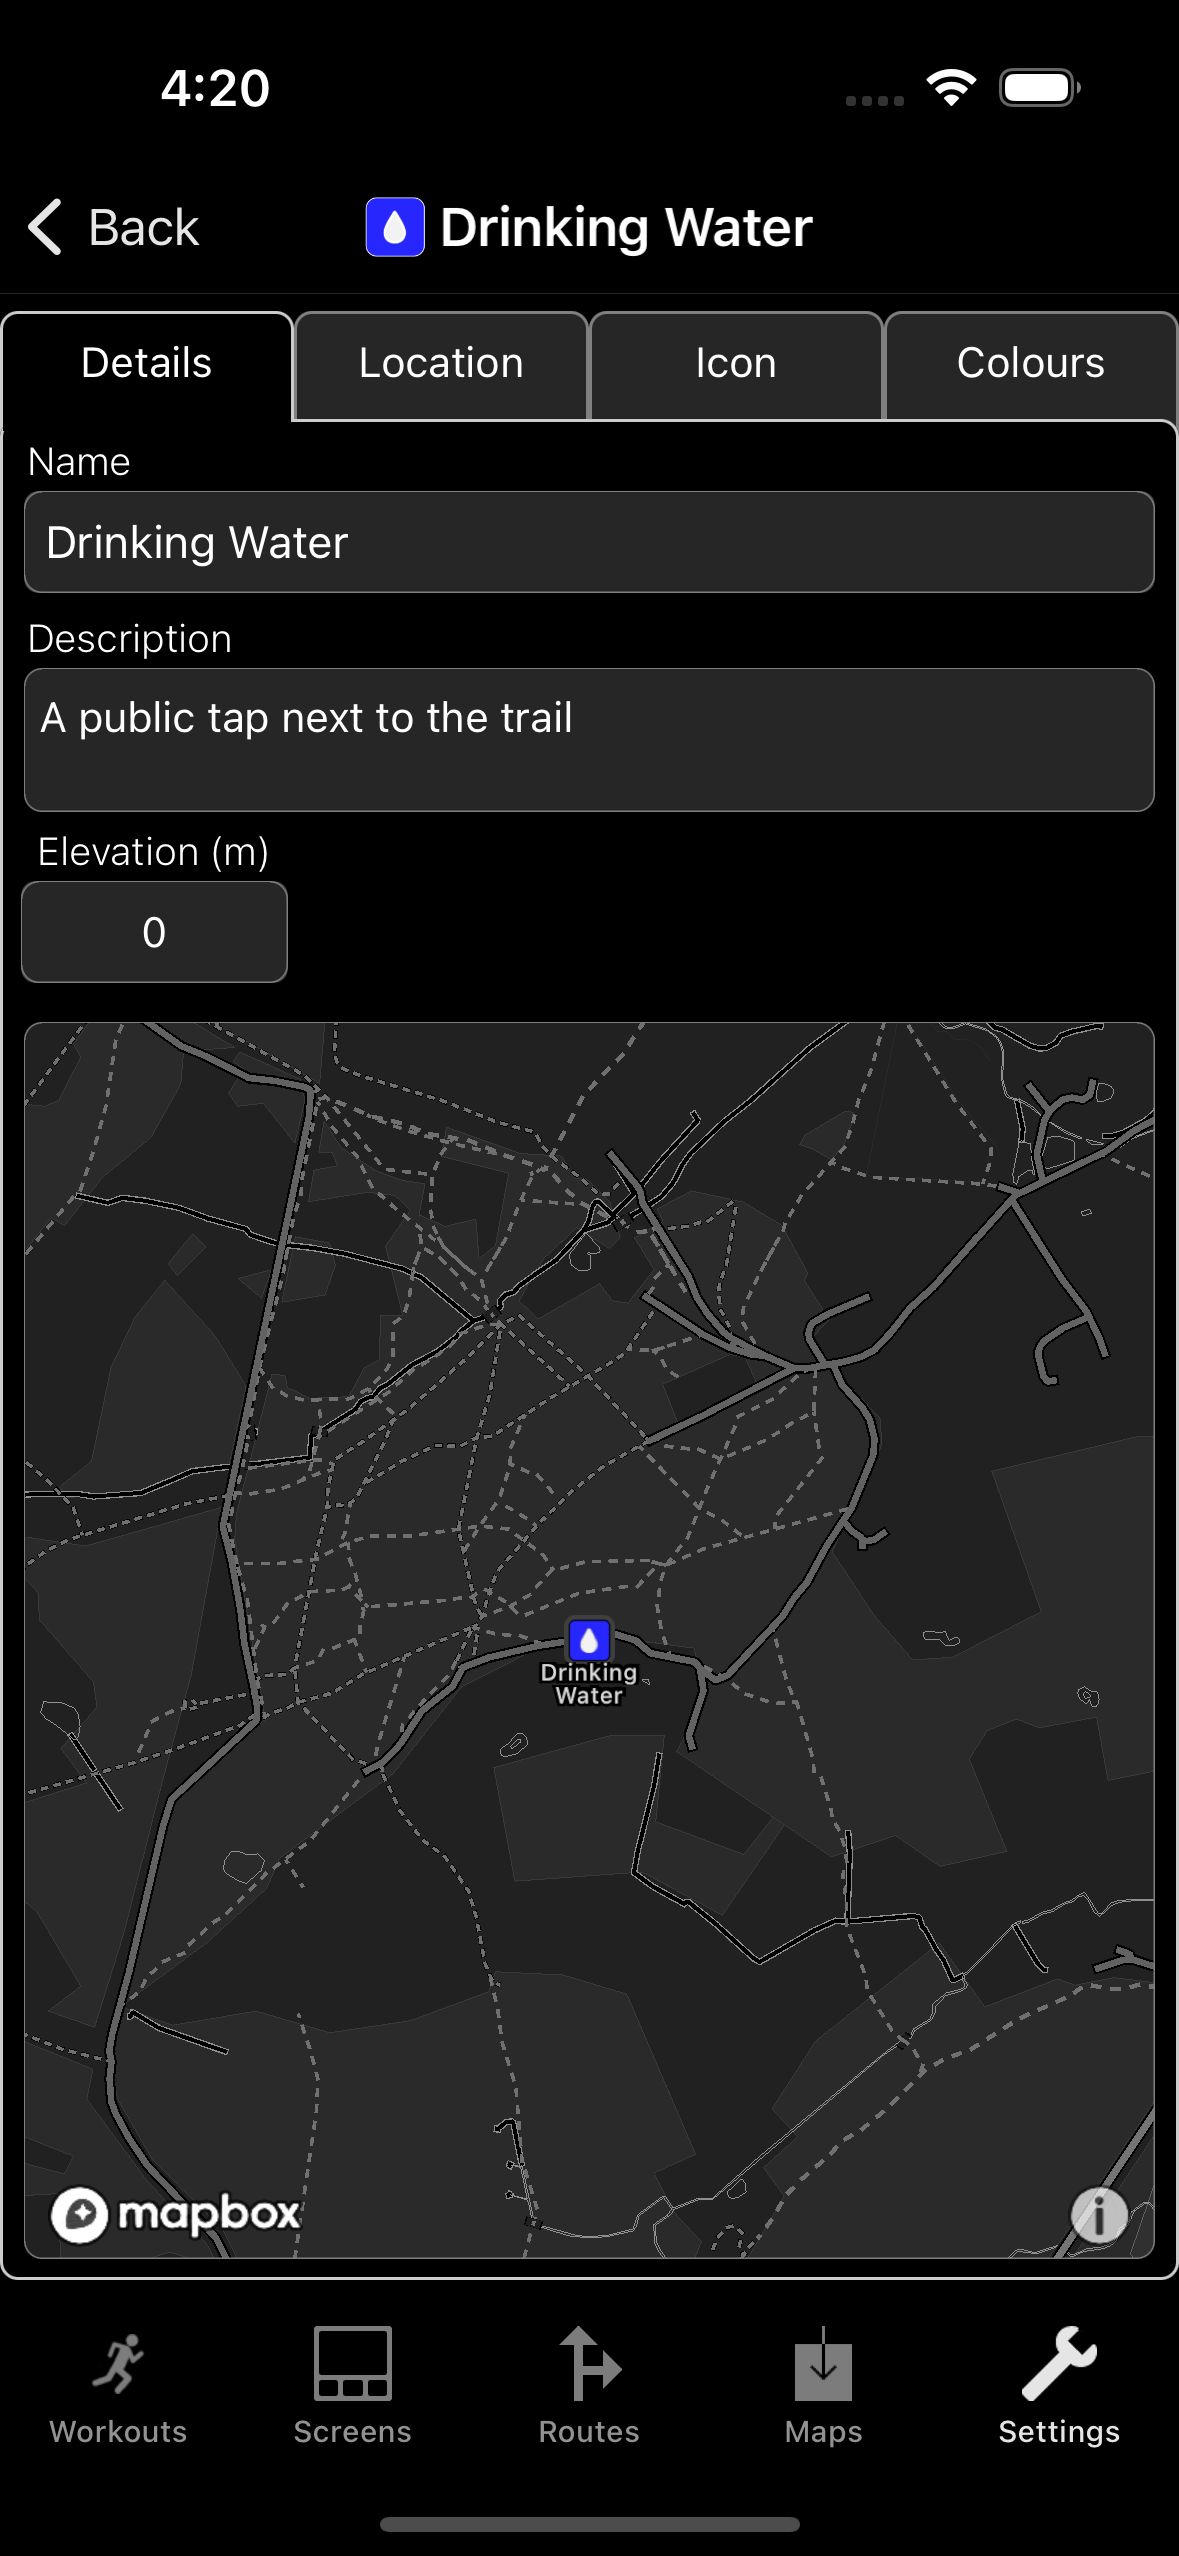
To create a waypoint in the iPhone app go to the Settings tab and tap Waypoints. This will display the waypoints screen, which shows all the waypoints created by the user. These can be filtered and sorted as required.
To create a new waypoint tap the '+' button on this screen.
By default the new waypoint will be in the current location but you can move it by going to the Location tab.
You can change the colour and icon for the waypoint by going to the appropriate tabs.
Note: the app does not know elevation at every location so it will default to zero if you change the location.
To select a waypoint when starting a workout tap the circular '...' button, then tap 'Navigate' and then 'Waypoint'.
At any other time before or during a workout go to the Settings and then tap Waypoints.
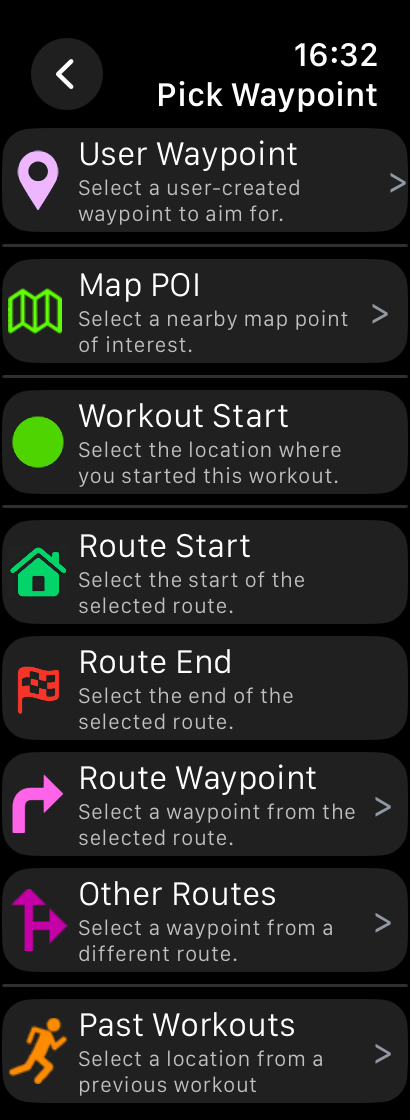
When you select a waypoint the app offers several options to choose from:
- A waypoint created by the user as described above.
- A point of interest (POI) from the map, such as a hospital or clinic, a restaurant or a bar etc.
- If during a workout then the starting point of that workout.
- If a route is selected then there are shortcut buttons for the start and end of the route, and an option to select a different waypoint on the route.
- A notable point of a previous workout (e.g. start, end, half way, highest or lowest point).
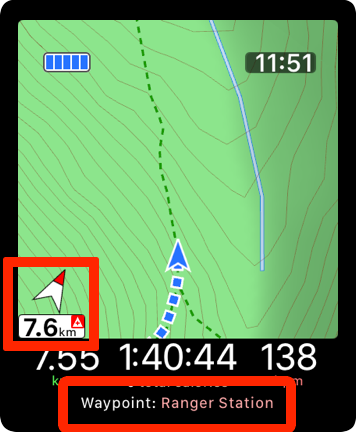
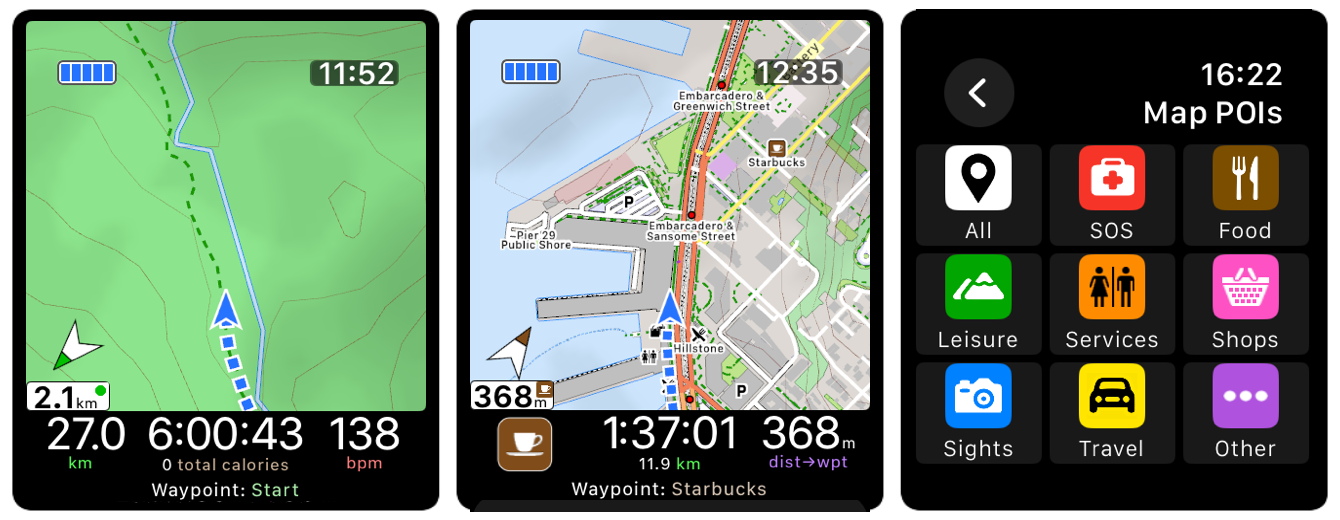
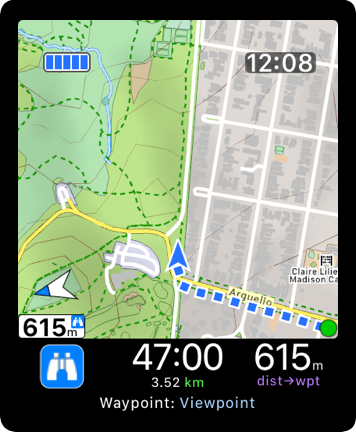
When a waypoint is selected then a compass is shown in the bottom corner of the map. Tap the compass to temporarily zoom out to see the waypoint.
The distance is also shown. This is the straight line distance unless the waypoint is on the current route.
The Chosen Waypoint Screen can be shown when a waypoint is selected. By default this is not shown because the compass and distance is usually sufficient.
To enable or configure the chosen waypoint screen go to the Screens settings or the Waypoint settings.
The Map POIs option allows you to choose from the many points of interest that are included in the map data for the local area. If you choose this option then you will see a top level menu with 9 icons for different POI types.
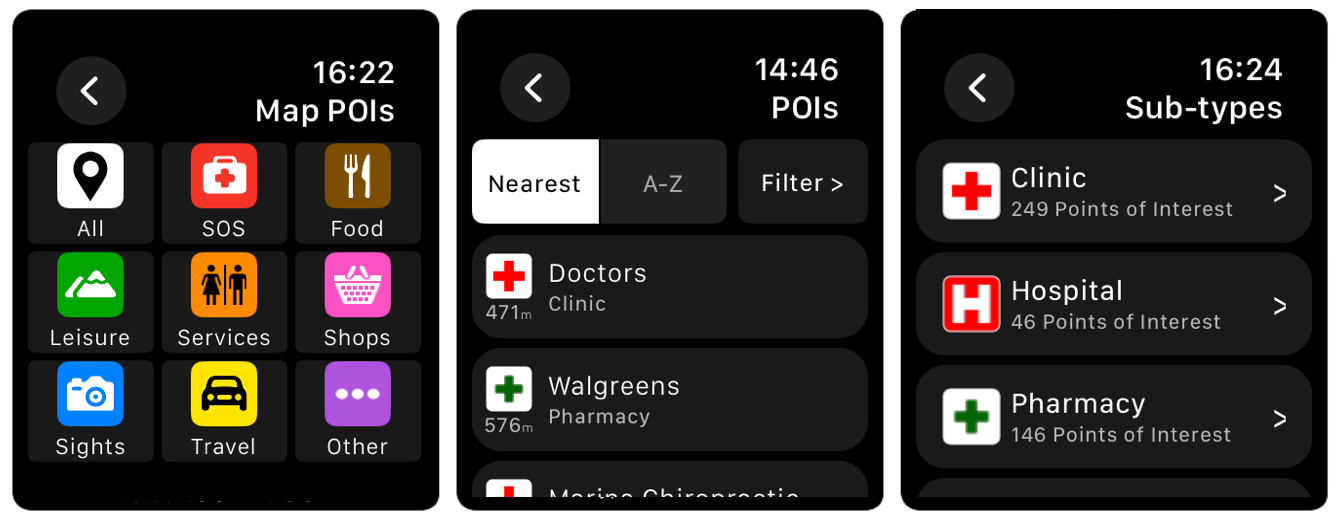
Tap an icon to see all the nearby points of interest of the type described by that icon. These POIs can be sorted by nearest or alphabetically (e.g. to find a particular POI).
Tap the filter button to see subtypes of the selected type. In the example above the subtypes of the emergency POIs include clinics, hospitals, pharmacies etc.
Email us for more information, or check out our Press Kit or our Privacy Policy.